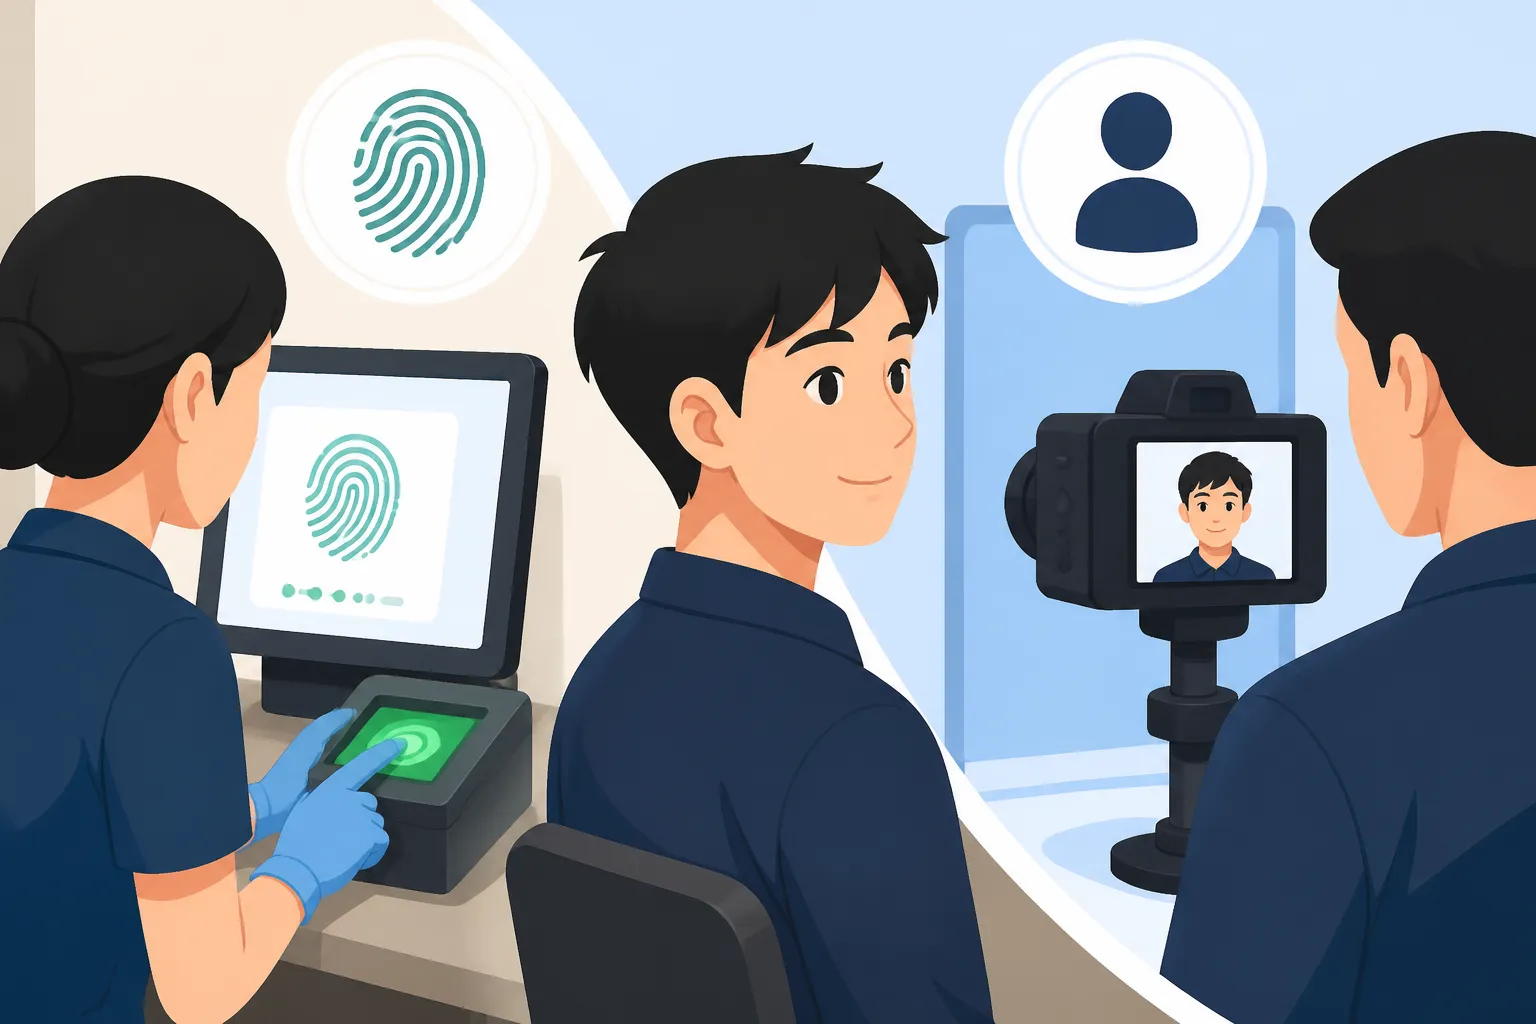
Getting Your Fingerprints and Photo Taken at the EPSC at River Valley
Alright, my fellow expat, you’ve done it! You’ve navigated the labyrinthine process of getting your Employment Pass (EP) in Singapore, perhaps even received that coveted In-Principle Approval (IPA) letter. You might think the finish line is in sight, but there’s one last, crucial administrative hurdle before that shiny green card lands in your hand: your visit to the Employment Pass Services Centre (EPSC) at River Valley Road for fingerprinting and photo taking. This guide is going to walk you through every single step, from booking your appointment to what happens after, making sure you don’t stumble at this final, critical stage.
The EPSC Appointment: The Final Step to Your Singapore EP Card
After weeks, maybe months, of waiting and gathering documents, getting your IPA letter feels like a massive victory, doesn't it? It means Singapore wants you here! But don't pop the champagne just yet. That IPA is a temporary pass; your actual Employment Pass card, which allows you to seamlessly integrate into life here – from opening a bank account to signing up for a gym membership – still needs to be issued. And for that, the Ministry of Manpower (MOM) needs your biometrics: fingerprints and a fresh photo.
This is a mandatory step, a security measure to ensure your identity is accurately recorded. It’s also often the very last physical interaction you'll have with the MOM before your card is issued. You'll head down to the EPSC, located conveniently on River Valley Road, which can feel a bit like a rite of passage for every new expat. It’s a busy place, but with the right preparation, it can be a smooth, if slightly bureaucratic, experience. Remember that this entire process ties into the broader framework of Singapore Visa and Immigration: The Complete Guide for Expats (2026), making sure every new arrival is properly documented.
Booking Your Slot: Timing and Preparation
The moment you receive your IPA letter, usually via email, it will contain instructions on how to book your EPSC appointment. This isn't something you can just walk into; you must book an appointment through the MOM's online e-service portal. The IPA letter will specify a timeframe within which you need to complete this step, usually within a few weeks of your arrival or IPA issuance. Don't procrastinate! Slots can fill up, especially during peak periods, and delaying this could push back the issuance of your actual card.
When you access the e-service, you'll need your Foreign Identification Number (FIN), which is also stated on your IPA letter. The system is fairly straightforward, allowing you to pick a date and time slot that works for you. Once confirmed, you'll receive an appointment confirmation, often with a QR code or unique reference number. Print this out or save it on your phone, as you'll need it for entry and check-in at the EPSC. Beyond just the appointment, ensuring you have all your necessary documents in order for your Employment Pass (EP) Application and COMPASS Framework Demystified is paramount to avoid any last-minute hiccups.
What to Expect at the EPSC: The On-Site Experience
Stepping into the EPSC can feel a bit like visiting a passport office back home – organized chaos, but definitely organized. Even with an appointment, there might be a short wait, so bring a book or ensure your phone is charged. The center is well-signposted, guiding you from security to the waiting areas. When your number is called, you'll head to a counter. The officer will verify your identity using your passport and IPA letter. This is where your preparedness truly pays off.
The fingerprinting process is entirely digital. You'll be asked to place your fingers, one by one, then usually all four fingers simultaneously, onto a scanner. It's quick, painless, and highly accurate. If for some reason a print isn't clear (e.g., very dry hands), they might ask you to re-scan or apply a little hand cream. Don't worry, it's a common occurrence.
After fingerprints, it's photo time. They have professional cameras on site. You'll sit against a plain background, and they'll take a digital photograph. General rules apply here: neutral expression (no smiling!), no glasses (unless for medical reasons, but even then, often advised against due to glare), and no head coverings (unless for religious reasons). The officers are experienced and will guide you. This photo will be the one on your actual EP card, so try to look presentable, even if you're a bit frazzled from the Singapore humidity!
Once both biometrics are captured, the officer will usually give you a small acknowledgement slip or confirm that your application is now "pending card issuance." This is often the point where you breathe a huge sigh of relief. You've done your part!
What to Bring: Documents and Personal Readiness for EPSC
Look, Singapore runs on efficiency and documentation. Assuming you’ve gotten your IPA, you’re already good at paperwork, but this last step requires precision. Think of it as a final test of your administrative prowess. Having everything ready means a smooth visit; forgetting something means a frustrating re-scheduling or even rejection. Expats who arrive unprepared often run into avoidable problems, so it is worth planning ahead.
The In-Principle Approval IPA Letter: Your Golden Ticket
This is, without a doubt, the most critical document. Your IPA letter is essentially your temporary entry permit and the official notification from the MOM that your Employment Pass application has been approved. It contains your FIN, the validity period for which you can enter Singapore, and instructions for your EPSC visit. Think of it as your golden ticket to the final stage.
Make sure you have a physical printout of this letter. While they might accept a digital copy on your phone in a pinch, it's always safer to have a hard copy. Officers often appreciate it, and it saves fumbling with screens. Your IPA letter will also detail the final steps, including the EPSC appointment booking. If you lost your initial email, you can usually retrieve it from the MOM portal or ask your employer's HR to resend it. The IPA letter is also fundamental for your initial entry into Singapore, acting as a crucial document detailed further in our guide on In-Principle Approval (IPA): What It Means and How to Use It for Entry.
Passport and Identity Verification
Your passport is your primary form of identification in Singapore, and it's absolutely essential for your EPSC appointment. Ensure it's valid, not expired, and that the details on your IPA letter (name, date of birth, passport number) exactly match your passport. Any discrepancy, no matter how minor, can cause delays.
If your passport is expiring soon (say, within six months), it's best to renew it before your EP is issued. While you can update your passport details with MOM and ICA after a renewal, it adds another layer of bureaucracy. Ideally, you want a passport that has plenty of validity left, giving you peace of mind for the duration of your Employment Pass. This also extends to other administrative steps like Opening a Bank Account in Singapore: Required Documents for Foreigners, where passport validity is always a key requirement.
Supporting Documents and Attire
While your IPA and passport are the absolute must-haves, it's always a good practice to bring any other supporting documents you submitted with your initial EP application, just in case. This could include your educational certificates, reference letters, or your employment contract. It's rare that they'll ask for these at the EPSC, but being over-prepared never hurt anyone in Singapore.
In terms of attire, while there’s no strict dress code beyond being respectful, remember they’re taking your official ID photo. So, dress smartly, avoid busy patterns that can distract, and ensure your hair isn't obscuring your face. Think business casual. Also, ensure you adhere to the requirements mentioned earlier for the photo, such as no hats or sunglasses.
| Document/Item | Importance | Notes for Expats |
|---|---|---|
| IPA Letter (Printed Copy) | Critical | Your official approval, contains FIN and instructions. Essential for entry and processing. |
| Valid Passport | Critical | Primary ID. Ensure details match IPA. Check expiry date; renew if less than 6 months validity. |
| Appointment Confirmation | High | Proof of your booked slot (printed or digital). |
| Supporting Documents (Optional) | Low | Original certificates, employment contract, etc. Bring only if explicitly requested or for peace of mind. |
| Pen (Optional) | Low | For filling out any unexpected forms, though most processes are digital. |
| Charged Phone/Book | High | For entertainment during potential waiting times. |
| Professional Attire | Medium | For your EP card photo. Avoid busy patterns, no hats/sunglasses. |
| Small Bag/Pouch | Low | To keep all your documents organized and secure. |
Navigating the EPSC Experience: From Entry to Exit
So you’ve got your documents, you know what to expect. But what about the nuances? The little things that can make or break an otherwise straightforward visit? As someone who’s been through the Singapore bureaucracy a few times, I can tell you that anticipation and patience are your best friends. The process is streamlined, but it’s still government administration, after all.
Arrival and Check-in Procedures
When you arrive at the EPSC building, security staff will direct you. You’ll typically need to show your appointment confirmation to gain entry. Inside, you’ll find self-service kiosks where you check in using your FIN and appointment details. This will print a queue number. Pay attention to the screens displaying queue numbers, as these will direct you to the correct counter for your biometrics.
The EPSC is located at 200 River Valley Road, Singapore 238382. It's quite accessible by public transport; you can alight at Fort Canning MRT station (Downtown Line) and it's a short walk from there. If you're using a ride-hailing app like Grab, Gojek, or TADA, simply key in the address. Remember, parking in central Singapore can be a headache, so public transport is often the wiser choice.
The Biometric Capture Process: What to Expect
Once your number is called, you'll approach the designated counter. The officer will greet you, verify your documents, and then guide you through the fingerprinting and photo process.
For fingerprints, they'll usually start with your thumbs, then individual fingers, and finally, all four fingers of each hand. It's a digital scanner, so there's no ink involved. Just place your finger flat and firmly when instructed. If the system has trouble reading a print (which can happen if your hands are dry or too moist), they might ask you to rub your hands together or even provide a small wipe to clean them. Just follow their instructions patiently.
For the photo, it's typically a quick snap. The camera is fixed, and they'll adjust your seating. Look directly at the camera, maintain a neutral expression, and ensure your hair is off your face. The officers are generally very efficient and will tell you if they need another shot. This is not the time for avant-garde poses or playful expressions; this photo will represent you on your official ID.
Post-Capture and Departure
After successfully capturing your fingerprints and photo, the officer will confirm that the process is complete and your EP card will be processed for issuance. They might give you a small slip indicating that your application is moving to the next stage. This is usually your cue to leave.
There's no need to wait around after this. The information has been captured and submitted to the MOM’s system. You'll simply exit the center, knowing you've completed this vital step. The entire physical process, from entering to leaving, usually takes under an hour if you have an appointment and all your documents are in order. The digital system in place is designed for efficiency, contrasting with the sometimes lengthy processes found in other countries.
Common Hurdles and Post-Appointment Essentials
Even with the best preparation, things can sometimes go awry, or you might have lingering questions. As an expat, you quickly learn to anticipate the unexpected when it comes to administration. Knowing what to do if there's a problem, or what to expect after the EPSC, can save you a lot of stress.
Missed Appointments and Rescheduling
Life happens. Maybe you were unwell, or you had a conflicting emergency. Missing your EPSC appointment is definitely not ideal. The MOM takes appointment adherence seriously. Depending on the reason and how late you are, you might face delays in your card issuance or, in extreme cases, a penalty for non-compliance.
If you know you're going to miss it, try to reschedule as soon as possible through the MOM e-service portal. There's usually an option to change your appointment if done with sufficient notice. If you missed it entirely, contact MOM through their inquiry form or your employer's HR department immediately to explain and request a new slot. Don't just ignore it; that will lead to bigger headaches down the line. Keep records of all communication, a general rule when dealing with any government agency here, or even when using financial services like Wise for international money transfers.
Photo and Fingerprint Issues: What Can Go Wrong
While rare, sometimes there are issues during the biometric capture.
- Photo rejection: This usually happens if there's glare on glasses, your expression isn't neutral, or your hair is covering too much of your face. The officers are usually quick to spot this and will retake the photo immediately.
- Fingerprint capture difficulties: Dry skin, extremely calloused hands, or certain medical conditions can sometimes make it hard for the scanner to get a clear print. The officer will guide you, suggesting you rub your hands, try different angles, or even apply a bit of hand lotion (which they might provide). In very rare cases, if digital capture is consistently problematic, they might have alternative verification methods, but this is highly uncommon.
The key here is patience and cooperation. The officers are there to help you complete the process successfully.
Tracking Your Card and Updating Details
After your EPSC visit, you’ll likely be eager to receive your actual EP card. The MOM usually delivers the card to your registered local address within a few working days (typically 3-7 days) after the appointment. Your employer's HR department will usually be the primary point of contact for this. You can also track your EP application status on the MOM Portal using your FIN. This way, you'll know when your card has been dispatched.
It’s crucial to ensure your registered residential address in Singapore is accurate. If you move shortly after your EPSC visit, remember to update your residential address with MOM within 14 days, as this is a legal requirement. Having your address correctly updated also ensures you receive important government correspondence, which is essential for things like Singapore Income Tax for Foreigners: IRAS Rules and Filing (2026). When you finally receive your card, check all the details carefully – your name, FIN, date of birth, and expiry date. If there are any errors, contact MOM immediately through your employer.
After the EPSC: What Happens Next?
Congratulations, you've completed the EPSC visit! Now, it's time for the final stretch before you can fully settle into your expat life in Singapore. This is when the excitement truly starts to build, as that physical card is a symbol of official recognition and opens up so many possibilities.
Receiving Your Employment Pass Card
The physical Employment Pass card is usually delivered to the employer's registered address (or sometimes directly to your residential address, depending on the arrangement) within a week after your EPSC appointment. This card is a vital piece of identification, replacing your IPA letter as your official proof of work authorization and residency.
When you finally hold that card in your hand, take a moment to savor it. It represents your official entry into the Singapore workforce and expat community. Double-check all the details on the card – your name, FIN, pass type, and validity period. Any discrepancies should be reported immediately to the MOM via your employer to avoid future complications.
Activating Your Pass and Moving Forward
With your physical EP card, you can now truly activate your life in Singapore. The first thing you'll want to do is register for Singpass, Singapore's digital identity. Your EP card, with your FIN, is the key to unlocking numerous government e-services, including those for healthcare, taxes, and even managing your utilities. Understanding Singpass: The Key to Digital Banking and Government Services is crucial, as it streamlines so many administrative tasks here.
Beyond Singpass, your EP card will enable you to:
- Open a local bank account: This is essential for receiving your salary and managing daily finances. Banks will require your physical EP card, along with your passport and sometimes proof of address.
- Sign up for mobile phone contracts: Get a local number and plan without relying on a tourist SIM.
- Apply for credit cards and loans: Start building your credit history in Singapore.
- Access various services: From library memberships to gym subscriptions, your EP card is often the primary ID required.
- Plan your housing: If you haven't already, securing your long-term rental, as outlined in Renting in Singapore: The Ultimate Guide for Expatriates (2026), will now be easier as you have official local identification.
This newfound administrative freedom is a huge relief. You’ll find things generally become much smoother once that green card is in your wallet. If you're planning any major relocations or need to send money abroad, services like Wise become invaluable for managing your finances efficiently and at competitive rates, as you're now fully set up in the local financial ecosystem. For those contemplating their future moves, especially involving family or larger assets, considering a reputable international moving company like Sirelo might be on your radar further down the line, but for now, focus on enjoying your newly settled status.
Disclaimer
Please note that while this guide provides comprehensive information based on current regulations and typical expat experiences in Singapore, immigration policies and procedures can change. The information shared here is for general guidance only and does not constitute legal or official immigration advice. Always refer to the official websites of the Ministry of Manpower (MOM) and the Immigration & Checkpoints Authority (ICA) for the most up-to-date and authoritative information, or consult with a qualified immigration professional for personalized advice.


